
In today’s technologically advanced world, our smartphones have become indispensable tools for communication, entertainment, and productivity. However, the internal storage of these devices can often feel limiting, especially when capturing high-resolution photos and videos, downloading apps, and storing essential files. This is where memory cards, also known as SD cards or microSD cards, come into play, offering a simple and cost-effective solution to expand your phone’s storage capacity. This comprehensive guide will provide you with a step-by-step understanding of how to insert a memory card into your smartphone, allowing you to unlock its full potential and enjoy a seamless digital experience.
This article aims to equip you with the knowledge and confidence needed to upgrade your phone’s storage. We will cover essential topics such as identifying the compatible memory card type for your specific phone model, locating the memory card slot, the correct insertion process, and troubleshooting common issues that may arise. Whether you’re a seasoned tech enthusiast or a novice smartphone user, this guide will empower you to maximize your phone’s capabilities and eliminate those frustrating “storage full” notifications.
Understanding Memory Card Types: SD, MicroSD, and More
When expanding your phone’s storage, it’s crucial to understand the different types of memory cards available. The most common types are SD (Secure Digital) cards and MicroSD cards.
SD cards are the original standard, typically used in cameras and laptops. However, they are generally too large for most modern smartphones.
MicroSD cards, also known as TransFlash (TF) cards, are significantly smaller and are the standard for most mobile devices. Within MicroSD, you’ll encounter variations like MicroSDHC (High Capacity) and MicroSDXC (eXtended Capacity).
MicroSDHC cards offer storage up to 32GB, while MicroSDXC cards can support up to 2TB, offering considerably more space for photos, videos, and other data.
When choosing a memory card, compatibility with your phone is paramount. Consult your phone’s specifications to determine the maximum supported card type and capacity.
Why Use a Memory Card in Your Phone?
Incorporating a memory card into your phone offers numerous advantages, primarily related to expanded storage capacity. As phone applications, photos, and videos become increasingly data-intensive, internal storage can quickly become insufficient.
A memory card provides a cost-effective solution to augment your phone’s storage, allowing you to store a significantly larger volume of files. This is particularly beneficial for users who:
- Capture a large number of photos and videos.
- Download and use many apps.
- Store a substantial music or video library on their device.
Furthermore, using a memory card can improve your phone’s performance by freeing up internal storage, which can lead to smoother operation and faster app loading times. It also simplifies the process of backing up and transferring data to other devices.
Preparing Your Memory Card for Use: Formatting and Compatibility
Before inserting a memory card into your phone, ensuring its compatibility and proper formatting is crucial for optimal performance and data integrity.
Compatibility: Verify that the memory card’s capacity is supported by your phone. Consult your phone’s user manual or manufacturer’s website for the maximum supported storage capacity. Using a card exceeding this limit may result in malfunction or data loss.
Formatting: It is generally recommended to format the memory card before its initial use in your phone. This ensures the card is formatted to a file system compatible with your device. Modern phones typically support exFAT or FAT32 file systems for memory cards. You can format the card using your phone’s settings (usually found under “Storage” or “Memory”) or by using a computer. Always back up any existing data on the card before formatting, as this process will erase all contents.
Note: If the memory card was previously used in another device, formatting it on your phone is highly recommended to avoid potential compatibility issues.
Locating the Memory Card Slot on Your Phone: A Step-by-Step Guide
Identifying the location of the memory card slot is the crucial first step. The slot’s placement varies depending on the phone model. Consult your phone’s user manual for the most accurate guidance.
Typically, you can find the memory card slot in one of three locations:
- Within the SIM card tray: Many phones use a combined SIM and microSD card tray, accessible with a SIM eject tool.
- On the side of the phone: Some phones have a dedicated slot on the side, often protected by a small cover.
- Underneath the back cover: Older phone models may require removing the back cover to access the battery and memory card slot.
To locate the slot, first, examine the sides of your phone for a small hole or a covered slot. If present, use the SIM eject tool (a small metal pin included with your phone) to gently push into the hole and release the tray. If you can’t find it on the sides, check if your phone has a removable back cover.
How to Safely Insert a Memory Card into Your Phone
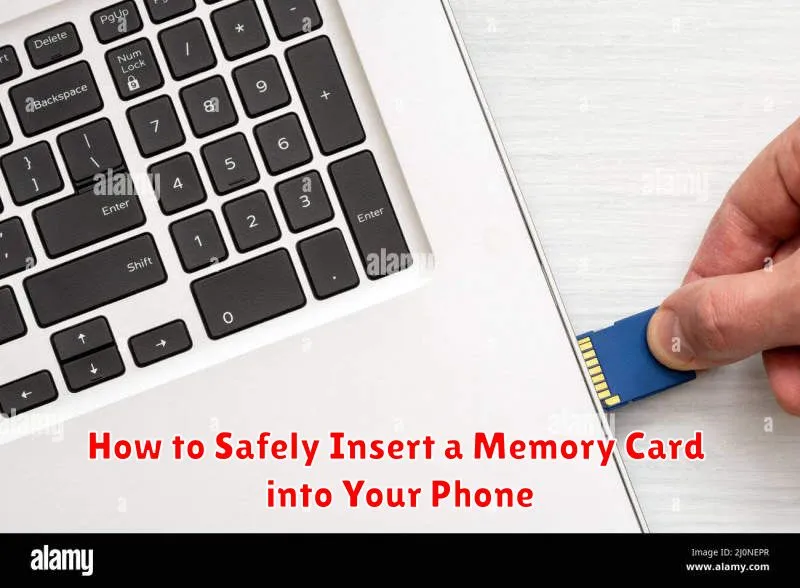
Once you’ve located the memory card slot, proceed with inserting the card. Ensure your phone is powered off to prevent any potential data corruption or hardware damage.
Orientation is key. MicroSD cards have a specific orientation. Gently align the card with the slot, matching the diagram (if any) printed near the slot. Do not force the card in; it should slide in smoothly.
Use your fingertip to gently push the card into the slot until you hear a faint click. This indicates that the card is securely locked in place. If your phone utilizes a tray system, ensure the tray is fully and securely inserted back into the phone.
After insertion, power on your phone. Give your device a moment to recognize the newly inserted memory card.
Setting Your Phone to Use the Memory Card for Storage
Once the memory card is physically inserted, you must configure your phone to utilize it for storing various types of data. The process can vary slightly depending on the Android version and the phone manufacturer’s customizations.
Generally, you can find these settings within the ‘Storage’ section of your phone’s settings menu. Look for options such as ‘Preferred Storage Location’ or ‘Default Write Disk.’ Select the memory card as the preferred location for photos, videos, music, and other files.
Some phones may also allow you to move existing data from the internal storage to the memory card. This can often be done through the file manager app. Note that certain apps and their associated data might not be movable to external storage due to app restrictions.
It is important to note that setting the memory card as the default storage location may affect the performance of some apps. If you experience slow loading times or other issues, consider moving only specific types of files, such as photos and videos, to the memory card.
Troubleshooting: What to Do if Your Phone Doesn’t Recognize the Memory Card
It can be frustrating when your phone doesn’t recognize a newly inserted or previously working memory card. Here’s a systematic approach to troubleshoot the issue:
Initial Checks:
- Power Cycle: Turn your phone off completely, wait a few seconds, and then turn it back on. This simple step can often resolve temporary glitches.
- Physical Check: Ensure the memory card is properly seated in the slot. Remove and re-insert it, making sure it clicks or locks into place if applicable.
- Clean the Contacts: Use a soft, dry cloth to gently clean the gold contacts on the memory card. Dust or debris can interfere with the connection.
Software and Compatibility:
- Card Compatibility: Verify that the memory card’s capacity (e.g., 128GB, 256GB) is supported by your phone. Check your phone’s specifications in the user manual or online.
- Format Check: Ensure the card is formatted in a compatible file system (usually FAT32 or exFAT). If necessary, format the card on a computer using a card reader (note: formatting will erase all data on the card).
Advanced Troubleshooting:
- Test with Another Device: Try the memory card in another phone or a computer to determine if the issue is with the card itself or your phone.
- Software Update: Make sure your phone’s operating system is up to date. Software updates often include bug fixes that can address memory card recognition issues.
If none of these steps resolve the problem, the memory card may be faulty, or there might be a hardware issue with your phone’s memory card slot. Consider contacting your phone manufacturer or a qualified repair technician for further assistance.
Transferring Data to and From Your Memory Card
Once your memory card is properly installed and recognized by your phone, you can begin transferring data. This allows you to free up internal storage space and keep your photos, videos, and other files organized.
Methods for Transferring Data
There are several ways to transfer data to and from your memory card:
- Using a File Manager App: Most smartphones come with a pre-installed file manager app. You can use this app to manually copy or move files between your phone’s internal storage and the memory card.
- Connecting to a Computer via USB: When you connect your phone to a computer using a USB cable, it will typically appear as a storage device. You can then drag and drop files between your computer and the memory card.
- Using Cloud Storage Services: Services like Google Drive, Dropbox, and OneDrive can be used to upload files from your phone and then download them to the memory card, or vice versa.
Considerations
Be mindful of the file formats supported by your phone when transferring data. Also, larger files may take longer to transfer. It is recommended to maintain a backup of important data in case of data loss.
Safely Removing Your Memory Card: Preventing Data Loss
Removing a memory card improperly can lead to data corruption or loss. Always follow the proper procedure to ensure your files remain safe.
The Importance of Unmounting
Before physically removing the card, you must “unmount” it from your phone’s operating system. This process stops any ongoing read/write operations, preventing data corruption.
Steps to Safely Remove Your Memory Card
- Navigate to your phone’s Settings menu.
- Find the Storage or Memory section. The exact name may vary depending on your device.
- Locate the option to “Unmount SD Card” or “Eject SD Card.”
- Tap the “Unmount” option and wait for the process to complete. Your phone will usually display a notification confirming the card has been safely unmounted.
- Once unmounted, you can safely power off your phone (optional but recommended) and then physically remove the memory card.
By following these steps, you significantly reduce the risk of losing valuable data stored on your memory card.
Maintaining Your Memory Card: Best Practices for Longevity

To ensure your memory card functions optimally and lasts longer, consider these best practices:
Regularly Back Up Your Data
Backing up your data prevents loss from card failure or corruption. Store copies on a computer or cloud service.
Safely Eject the Memory Card
Always use the “safely remove” option on your phone before physically removing the card. This prevents data corruption during write operations.
Avoid Extreme Temperatures and Humidity
Extreme conditions can damage the card. Store it in a cool, dry place when not in use.
Defragment Your Memory Card (If Applicable)
While less common with newer card types, defragmenting occasionally can improve performance. Research if this applies to your specific card type.
Scan for Errors Periodically
Use a computer to scan the card for errors periodically. This helps identify and correct minor issues before they become major problems.
Use a Reputable Brand
Choosing a well-known brand often ensures better quality and reliability.